How to Enhance Photos: Tip and Techniques

Have you ever wondered how magazine and editorial photographers get such stunning results compared to your own amateur efforts?
Well, there are certain techniques they use to achieve those results. And today, we’re going to share those techniques with you so that you can enhance the quality of your own photos and achieve a more polished look for your product.
Photo editing techniques may vary business to business but the quality of a photo must be up to the mark always. The harsh reality is a raw photo can never provide the kind of uniqueness that an edited photo can. So, to get professional photographs, photo enhancement has no alternative.
In this article we will see some tips and techniques about how to enhance photos after clicking.
7 Techniques To Enhance Photographs
Contents

Technique 1- Improve Photo By Cropping

Cropping is a simple and fast approach to fixing the sharpness and composition of a picture. It may have a huge impact on a picture since it allows you to remove distractions, improve the composition, or draw attention to a particular part.
But keep in mind that, if a small picture is cropped too much, it might lose some of its sharpness and detail. If you want professional effects, you should begin with a large image. The “rule of thirds” is a handy guideline that should be followed while cropping.
To do this, draw two parallel lines across the top and bottom of the image and two vertical lines to divide it into thirds along the horizontal axis. Images often center on the intersections of such lines. The following advice will help you take a picture that stands out and is more visually appealing.
Technique 2- Enhance The Look Of Photographs With Blurring

Images do not always need to be the primary focus of a design, but there will be occasions when you want to showcase them. They’re also capable of contributing effectively in a more covert capacity. Indeed, our focus here is on historical contexts.
Pictures may be used as backgrounds for many different types of designs. The problem is that the smaller parts of the photo seem to hide the text, which is usually part of most designs.
In such a case, blurring would make the backdrop more consistent and less distracting. If you softly or moderately blur your background photos, you may still be able to tell what is in them.
By blurring the image a lot, you can make a splash of abstract colors and shapes. If you’d like a more interesting backdrop than a plain color, this may be a nice choice.
Technique 3- Focus On Saturation

Saturation adjustments in Photoshop can bring out certain colors in a photograph. The term “saturation” is used to describe the degree to which a color stands out from the background.
Highly saturated colors look impressive, while less saturated colors look more toned down and close to a grayscale image. So, it’s important to avoid oversaturation, which can make things look fake and artificial.
Don’t oversaturate your photos unless you want them to look bright. If you find the right balance, you can make colors stand out without damaging the quality of the image.
Technique 4- Improve The Contrast By Adding Highlights And Shadows

The visual appeal of a picture may be greatly improved by adjusting the contrast. Lights get brighter, darks get darker, and midtones become more dynamic when contrast is increased. By reducing contrast, one can achieve the opposite result, a more monochromatic appearance.
Although adjusting contrast may help bring out details in the highlights and shadows, it must be used sparingly. If the highlights are too bright or the shadows are too dark, you might lose important details.
So, it’s important to find a good balance when changing the contrast to get the effect you want. With these guidelines, you may develop pictures that are both eye-catching and memorable.
Technique 5- Increase The Natural Light Level

There are moments when even experienced photographers have trouble with lighting. Starting with a well-exposed shot is essential to successful outcomes.
But if you take a photo that is just a little bit underexposed, you can easily fix it by changing the exposure settings. Be aware that turning up the brightness will make the picture brighter, while turning it down will make it darker.
Gradually adjust the exposure while keeping an eye out for overexposed regions. The overall harmony of a picture is sometimes enhanced when the contrast is changed at the same time.
Technique 6- Adjust And Improve Your Photos With Filters

Apps like Instagram have made filters a common method of editing digital photographs. You may use them to add creative or unusual effects to your images or to correct problems like a yellowish cast.
In a picture editor, you can use and adjust different filters to get the look you want. On the other hand, filters shouldn’t be utilized until absolutely necessary. When designing anything, it’s important to keep the layout clean.
A grid may help you line up your pieces and create a more pleasing look. One of the most eye-catching design options is a grid of pictures.
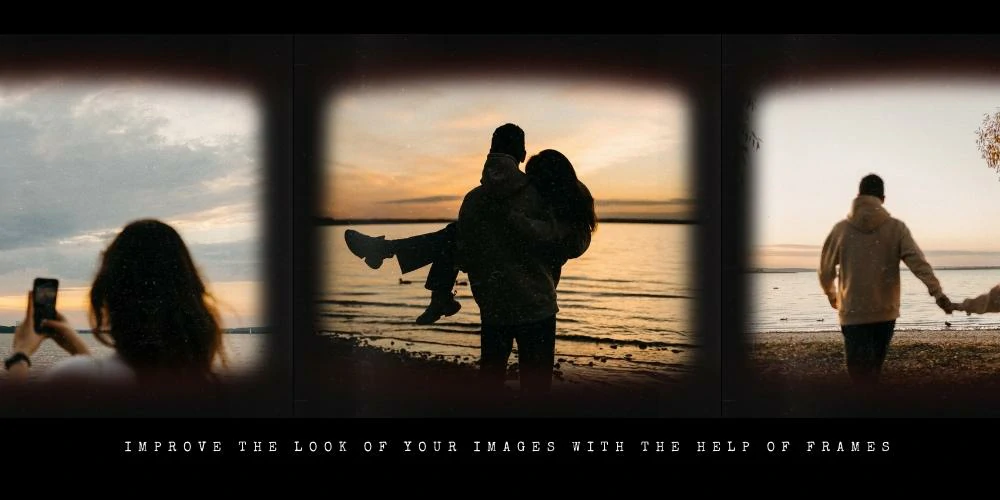
Technique 7- Improve The Look Of Your Images With The Help Of Frames

Framing is an important part of design because it draws attention to the main subject of the picture. Frames range from simple to ornate, with or without tint, so you may choose the one that best suits your needs.
You may improve photographs without sacrificing quality by stacking filters, screens, and overlays to get the desired effect. Text can be easier to read when you use overlays and screens, which both keep some of the original image. The screen’s opacity may be changed to suit your needs, allowing you to differentiate between the text and the picture.
Tips For Photo Enhancement

Tip 1- Work On White Balance
Adjusting the white balance is one of the most important steps in post-processing to fix photos that have an unnatural or unattractive color cast. It’s important to note that RAW files provide more digital data than JPEG files. This allows more flexibility when it comes to modifying white balance in post-processing.
Many programs offer presets such as “flash,” “daylight,” or “cloudy” mode to quickly adjust the white balance to match the lighting conditions in which the photo was taken. Changing the “temperature” and “tint” sliders also gives you more control over how the image is lit as a whole.
Tip 2- Adjust Sharpness
Sharpening images can make them clearer and more detailed, and most modern software for editing has different tools for sharpening. It’s best to start with the overall sharpness and adjust it between 0 and 100 until you achieve the desired effect. Try different sharpening tools, like “clarity” or “structure,” to increase contrast and draw attention to sharp edges.
Indeed, too much sharpening might result in a faux halo appearance. which may not look well in bigger images, so take precautions. Keep in mind that blurriness can’t be fixed by sharpening and that you’ll need to examine the picture attentively to judge the effectiveness of the various sharpening options.
Tip 3- Retouching Skin with Frequency Separation
If you’re using Photoshop to edit images, you may have heard about frequency separation, which is often used to smooth out skin. This is done by putting an image’s colors and textures on different layers, which lets you change each one separately.
High-frequency is used to correct skin blemishes like wrinkles, fine lines, and enlarged pores.
On the other hand, low frequencies are used to modify lighting, color, and tone. Experts also say to divide an image into layers if you want to change just one part of it without changing the whole thing. For instance, you can alter skin tone without changing its original smoothness.
Tip 4- Use Dodge and Burn
Learn how to use the “Dodge and Burn” tool in Photoshop to change the exposure of an image in specific places.
This method is particularly useful for skin retouching. With the dodge and burn tools, you can modify the shades, midtones, and highlights in specific areas of the image by painting over them with a specialized brush.
One of the benefits of these tools is that you can choose which areas to improve and adjust them as needed. With this powerful tool in Photoshop, you can improve the overall look of your images and give them a more polished and professional look.
Tip 5- Make Modifications By Using Brushes And Adjustment Layers
Adjustment layers are a powerful tool for precise and non-destructive editing in Photoshop. By adding them, you can make changes to colors and layers without altering the original image’s pixels. Simply select the Layer menu, click “Create Adjustment Layer,” and choose your desired option.
You can mask a part of the picture to add special effects to just that area. Lightroom might not have as many advanced features as Photoshop, but it does have a useful adjustment brush. This tool lets you blur backgrounds or whiten teeth, among other things.
Final Thought
Enhancing photos is an important step that should be taken after clicking photos. By following the tips and techniques we’ve mentioned, you can edit photos professionally. But still, if you face problems, you can get help from a post-production house.


