How to Compress an Image in Photoshop
Visual content reigns supreme. It has the power to captivate audiences, convey messages effectively, and leave a lasting impression.
However, with the vast amount of visual content bombarding us daily, it’s essential to ensure that our images stand out and deliver the intended impact.
This is where optimizing images for the web becomes crucial, and Adobe Photoshop emerges as one of the most efficient tools in this regard.
This article will guide you through compressing images with Photoshop, maintaining quality while minimizing file size
What Is Image Compression?
Contents
Image compression refers to the process of reducing the size of an image file without significantly compromising its visual quality. This optimization technique is vital for enhancing website loading speed and the user experience, particularly in an era where attention spans are dwindling and users expect instant access to content.
Types of Image Compression
There are two primary types of image compression: lossy compression and lossless compression.
Lossy Compression: This method reduces the file size by permanently eliminating some image data. While it results in significant file size reduction, it may lead to a slight loss in image quality, especially after multiple compression iterations.
Lossless Compression: Unlike lossy compression, lossless compression reduces the file size without sacrificing any image data. It achieves compression by identifying and eliminating redundant information, thereby maintaining the original image quality.
Factors to Consider Before Compressing an Image

Before proceeding with image compression, it’s essential to consider several factors such as the intended use of the image, the acceptable level of image quality, and the target audience’s viewing devices. These considerations will help determine the most suitable compression method and settings for your images.
How to Compress an Image in Photoshop
Now that we have a basic understanding of image compression, let’s explore how to compress an image using Adobe Photoshop. If you ever wondered how do i compress a picture size? then the below step by step guideline will answer it.
Step 1: Open the Image in Photoshop
To begin the process of compressing an image using Adobe Photoshop, follow these steps:
- Launch Adobe Photoshop on your computer. The application icon is usually located in the Applications folder on Mac, or the Start menu on Windows.
- Once Photoshop is open, go to the File menu in the menu bar at the top of the screen.
- In the File menu, select the Open option. This will open a file explorer window, allowing you to navigate to the location of the image you want to compress.
- Locate the image file on your computer and click on it to select it.
- After selecting the image, click the Open button in the file explorer window to open the image in Photoshop.
Your selected image will now be opened in the Photoshop workspace, ready for further editing and compression.
Step 2: Resize the Image Dimensions
To reduce the file size, resize the dimensions of the image as needed. This can be done by navigating to the “Image” menu, selecting “Image Size,” and adjusting the width and height dimensions accordingly.
Step 3: Adjust Image Quality Settings
Next, navigate to the “File” menu and select “Save for Web.” This will open a dialog box where you can adjust the quality settings of the image. Experiment with different compression levels to find the optimal balance between file size and image quality.
Step 4: Choose an Appropriate File Format
When saving the compressed image, choose an appropriate file format based on the image content and intended use. For photographs, JPEG is often the preferred format, while PNG is suitable for images with transparent backgrounds or text.
Step 5: Save the Compressed Image
Once you’re satisfied with the compression settings, click “Save” to save the compressed image to your desired location.
If you follow these above 5 steps you can easily compress your image, you don’t have to be a pro in photoshop.
When you are a professional photographer, you don’t get to spend a lot fo time in the post processing. In that case, going for professional image editing service provider company is a timely choice.
How to Compress a JPEG to WebP?
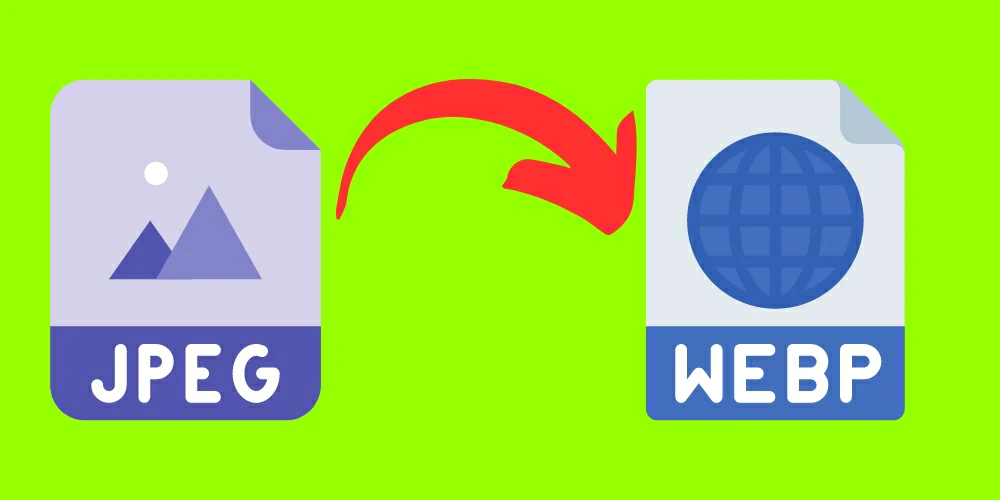
WebP is a modern image format that offers both lossy and lossless compression, making it a great choice for optimizing images for the web. It is supported by most major browsers and can significantly reduce file sizes without compromising visual quality.
Here’s a step-by-step guide on how to compress a JPEG to WebP:
Choose an Image Compression Tool:
There are several online and offline tools available for converting JPEG to WebP format. Some popular options include:
- Online tools: Squoosh, TinyPNG, ImageOptim
- Offline tools: Photoshop, ImageMagick, XnConvert
Select the JPEG Image:
Launch the image compression tool of your choice and select the JPEG image you want to compress.
Set the Compression Level:
Most tools allow you to adjust the compression level. A higher compression level will result in a smaller file size but may introduce more visible artifacts. Find a balance between file size and image quality that suits your needs.
Convert to WebP Format:
Select “WebP” as the output format and start the conversion process. The tool will compress the JPEG image and generate a WebP version.
Save the Converted Image:
Once the conversion is complete, save the newly created WebP image to your desired location.
Compare File Sizes and Quality:
Open the original JPEG and the converted WebP image side by side to compare their file sizes and visual quality. Ensure that the WebP image meets your quality standards while being significantly smaller in size.
Use the Converted WebP Image:
You can now use the compressed WebP image on your website or online platform. It will load faster and consume less bandwidth compared to the original JPEG.
Best Practices for Image Compression
Image compression is an essential technique for reducing the file size of images while maintaining their visual quality. You can store, transmit and display your images efficiently by using image compression to keep their quality. Here are some best practices to achieve effective image compression:
- Balance Quality and File Size
Strive to strike a balance between image quality and file size by adjusting compression settings judiciously. Aim to achieve the smallest file size possible without compromising visual clarity.
- Avoid Over-Compression
Be cautious not to over-compress images, as this can result in noticeable degradation in quality. Regularly review compressed images to ensure they meet quality standards.
- Batch Process Multiple Images
To streamline the image compression process, consider batch processing multiple images simultaneously using Photoshop’s automation features. This can save time and effort, especially when dealing with large image collections.
- Use Photoshop Plugins for Automation
Explore third-party Photoshop plugins designed for image compression and optimization. These plugins often offer advanced features and customization options, further enhancing your ability to optimize images efficiently.
Benefits of Compressing Images
- Improved Website Loading Speed
Compressed images load faster, leading to quicker website loading times and improved user engagement. This is particularly crucial in today’s fast-paced online environment, where users expect instant access to content.
- Enhanced User Experience
By optimizing image file sizes, you can provide users with a seamless browsing experience, reducing the likelihood of page abandonment due to slow loading times.
- Reduced Bandwidth Usage and Storage Costs
Image compression not only improves website performance but also helps reduce bandwidth usage and storage costs, making it a cost-effective solution for website owners.
Conclusion
In essence, mastering the intricate art of image compression is paramount to optimizing web performance and improving user experience. By meticulously following the steps outlined in this article and adhering to industry best practices, you can efficiently compress images using Adobe Photoshop. This ensures that your visuals retain their visual appeal while also being optimized for the web.
FAQs
Why is image compression important for websites?
Image compression is crucial for websites as it helps improve loading speed, user experience, and reduces bandwidth usage.
Does image compression affect image quality?
While image compression may result in a slight loss of quality, proper optimization techniques ensure that the impact is minimal and often imperceptible to the viewer.
What file formats are best for compressed images?
JPEG is ideal for photographs, while PNG is suitable for images with transparent backgrounds or text.
Can I automate the image compression process in Photoshop?
Yes, Photoshop offers batch processing and automation features that allow you to compress multiple images simultaneously.
Are there any drawbacks to over-compressing images?
Over-compression can lead to visible artifacts and degradation in image quality, so it’s essential to strike the right balance between file size and visual clarity.
