How to Round Corners in Photoshop

Photoshop is a versatile tool that allows users to manipulate images and graphics with precision and creativity. One common design element that many users frequently encounter is the need to round corners. Whether working on a website mockup, designing a logo, or creating social media graphics, rounded corners can add a polished and modern look to your designs.
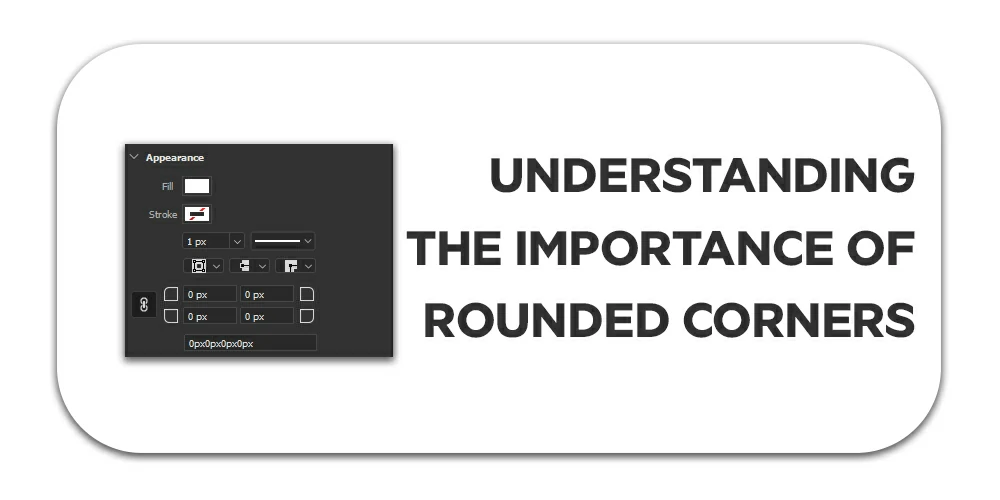
Understanding the Importance of Rounded Corners
Contents

Rounded corners are not just a stylistic choice; they can also serve functional purposes. In web design, rounded corners help soften the overall look of a layout, making it more visually appealing and user-friendly. Additionally, rounded corners can draw attention to specific elements or create a cohesive visual theme across multiple design elements.
Exploring Different Methods for Rounding Corners in Photoshop

Depending on your specific design needs and preferences, you can use several methods to round corners in Photoshop.
Use the Rounded Rectangle Tool
The Rounded Rectangle Tool is one of Photoshop’s simplest ways to add rounded corners to shapes and objects. Select this tool from the toolbar, adjust the corner radius to your desired size, and draw your shape on the canvas.
Apply the Rounded Corners Effect
Photoshop also offers a dedicated Rounded Corners effect, which allows you to round the corners of any selected object or layer. This method provides more flexibility than the Rounded Rectangle Tool, as it can be applied to existing shapes, text layers, or even imported images.
Create Rounded Corners with the Pen Tool
You can use the Pen Tool to manually create rounded corners for more complex shapes or custom designs. This method requires more precision and practice but offers complete control over the shape and curvature of each corner.
Step-by-Step Guide to Rounding Corners in Photoshop
Now, let’s walk through the process of rounding corners in Photoshop step by step.
Select the Appropriate Method
Before you begin, consider the specific requirements of your design and choose the method that best suits your needs.
Create a New Document or Selecting an Existing One
If you’re starting from scratch, the first step is to create a new document. Here’s how:
- Open Photoshop.
- Click on the “File” menu and select “New”.
- In the “New Document” dialogue box, set the width and height of the document in pixels, inches, centimetres, or millimetres.
- Choose the resolution of the document in pixels per inch (ppi). A higher resolution will produce a sharper image and increase the file size.
- Select the colour mode for the document. RGB (Red, Green, Blue) is suitable for most digital images, while CMYK (Cyan, Magenta, Yellow, Black) is used for printing.
- Click “OK” to create the new document. Opening an Existing Document in Photoshop
If you’re working on an existing design, you can open it in Photoshop by following these steps:
- Open Photoshop.
- Click on the “File” menu and select “Open”.
- Locate the file you want to open and click “Open”.
- The file will be opened in a new window in Photoshop.
Once you have your document open in Photoshop, you can start editing it. There are many different tools and features available in Photoshop to help you create and edit your images.
Choose the Shape or Object to Round in Photoshop
Select the shape or object that you want to round the corners of. This could be a shape layer, text layer, or any other graphic element.
Adjust the Corner Radius
Adjust the corner radius to your desired size if you’re using the Rounded Rectangle Tool or the Rounded Corners effect. If you’re utilising the Pen Tool, draw the shape with straight edges first, then use the Convert Point Tool to round the corners manually.
Apply the Rounded Effect
After customizing the radius of the corners, proceed to implement the rounded effect on the chosen shape or object. Select the object or shape in your design software or platform to accomplish this.
Navigate to the “Shape” or “Object” menu, then locate the option labelled “Corner Radius” or a similar variation. Utilize the provided slider or numerical input field to adjust the radius to your desired value.
Once satisfied with the corner radius, apply the rounded effect by confirming the changes or selecting the “Apply” button.
Tips for Achieving Professional-Looking Rounded Corners

Achieving professional-looking rounded corners is a crucial aspect of design, whether you’re working on a website, print materials, or digital graphics. Here are some essential tips to help you create aesthetically pleasing and visually appealing rounded corners:
1. Vector Graphics for Scalability:
Whenever possible, use vector graphics for creating rounded corners. Vector graphics are resolution-independent, meaning they can be scaled up or down without losing quality. This ensures rounded corners look sharp and crisp on any device or screen size.
2. Consistent Radius:
Maintain a consistent radius for all rounded corners throughout your design. Inconsistent radii can create a visually jarring effect and detract from the overall professionalism of your work.
3. Corner Radius Hierarchy:
Establish a hierarchy in your corner radii. For example, you might use a larger radius for main elements and smaller radii for secondary elements. This helps create visual interest and guides the viewer’s attention to the most important parts of your design.
4. Subtlety is Key:
While rounded corners can add a touch of softness and elegance, it’s important not to overdo it. Excessively large radii can make your design look childish or unprofessional. Aim for subtle and tasteful curves to enhance the overall aesthetic without overpowering it.
Troubleshooting Common Issues

If you’re encountering difficulties while rounding corners in Photoshop, here are a few common issues and their solutions:
- Blurry Edges: Ensure your document resolution is high enough to maintain sharp edges when rounding corners.
- Inconsistent Corner Radii: Double-check your settings and ensure the corner radius is consistent across all corners of your shape or object.
- Jagged Corners: If your corners appear jagged or pixelated, try increasing the resolution of your document or using anti-aliasing when applying the rounded effect.
Conclusion
Rounding corners in Photoshop is a simple yet effective way to enhance your designs and create a polished look. Whether working on web graphics, print materials, or digital illustrations, mastering the art of corner rounding will undoubtedly elevate your creative projects.
FAQs
Can I round the corners of any shape or object in Photoshop?
Yes, you can round the corners of most shapes and objects in Photoshop using the methods described in this article.
Is there a limit to how large or small I can make the corner radius?
There is no strict limit, but remember that excessively large or small corner radii may not produce the desired visual effect.
Can I animate rounded corners in Photoshop for interactive designs?
Yes, you can animate rounded corners using Photoshop’s animation features or by exporting your design to a format compatible with web animation tools.
Are there any plugins or third-party tools that can simplify the process of rounding corners in Photoshop?
Yes, several plugins and scripts are available that can streamline the process of rounding corners and offer additional features not native to Photoshop.
What other design elements can benefit from rounded corners besides shapes and objects?
Text boxes, buttons, icons, and interface elements are just a few design elements that can benefit from rounded corners to create a more modern and visually appealing aesthetic.


