How to take pictures of clothes without a mannequin?
Taking Pictures Of Clothes Without A Mannequin- 4 Preparation Mandatory To Take
Contents
For a clothing business, showcasing products is very essential to grab customers’ attention. Photography is a professional way of displaying cloth. Nowadays, photography techniques have changed, and people are really interested in seeing realistic photos.
This trend is becoming more pronounced in the concept of eCommerce clothing businesses. In eCommerce, a buyer cannot evaluate the quality of the real product; in such cases, product photographs are the only thing that the customer can see.
To give a realistic feeling to the customer, the right way of doing photography has no alternative. Usually, to photograph clothing, people use mannequins. But in a mannequin photograph, a traditional customer can be convinced, but for an online customer, a mannequin cannot explain the real look of the cloth.
As a result, people are looking for an alternative to the mannequin. In this article, we will see how to take pictures of clothes without a mannequin.
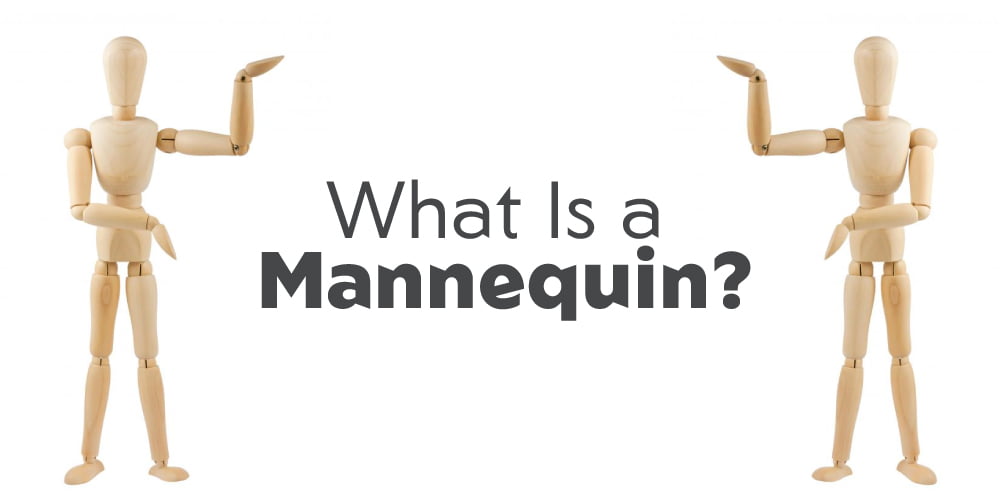
What Is a Mannequin?
A mannequin is a visual, artificial doll that is used to display clothing. By using a mannequin, a store owner can give the customer an idea of how she will look after wearing the dress. So, overall, you can say a mannequin actually represents the clothes of a store without a real model. There are different kinds of mannequins on the market, like customized mannequins, mannequins without heads, artistic mannequins, and mannequins that can be used for more than one thing.
The idea of using a mannequin is really popular in a mall because a mannequin can increase the percentage of upselling. But the idea of using a mannequin for an online customer isn’t a good one because upselling isn’t as easy in eCommerce because the customer has so many options. As a result, they will look for a store that has a good picture with product details.
Ways to Take Pictures of Clothes Without a Mannequin
People use mannequins because people who have no professional photographer are confused about which style of photography will be perfect for their products. If you are one of them, here we will explain some of the best alternative ways of photographing without a mannequin.
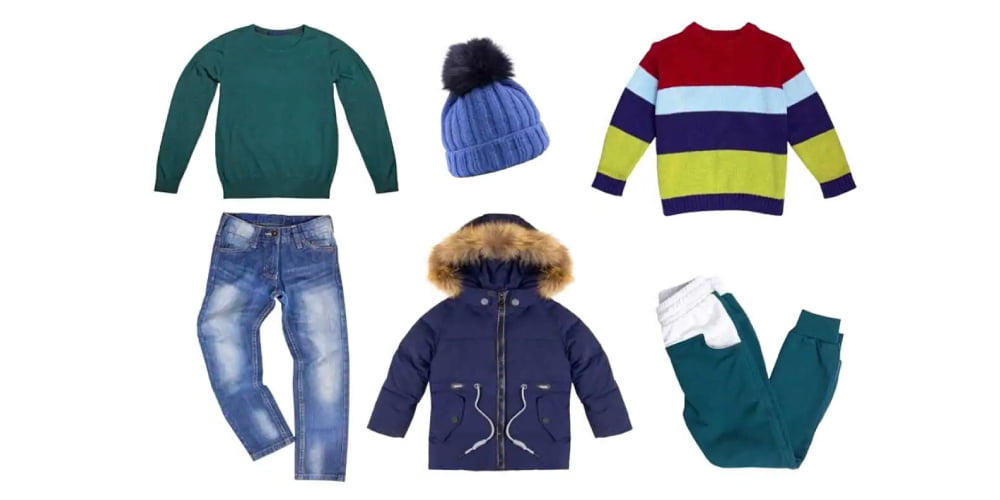
- Using hanger
- Try flat lay
- Use Model
There are three methods for taking clothing photos. Now let’s see how to take photographs with proper preparation.
Preparation 1: Get The Setting Ready For Action!
While clicking a cloth photo, keeping an eye on the cloth color and the background color is an important factor for a photographer. Usually, a white background is recommended for clothing photography. In a photograph with mannequins, people do not bother about such a thing, and as a result, they failed to grab customer attention properly.
However, a white background is not your only option; sometimes black can also work. The appropriate background color is determined by the color of the clothing. Background texture, as well as color, is an important consideration. Images with interesting textures tend to be more engaging overall.
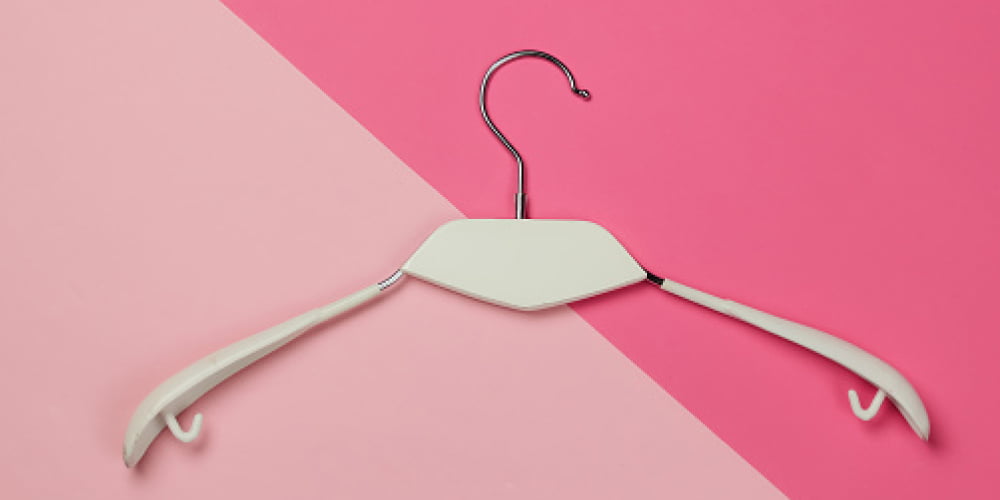
Moreover, a tabletop, floor, or hanger is ideal for photographing clothes at home; a lovely wall or even the bed can work if you remember that bed images can look messy depending on how you style the cloth. Now let’s come to lighting.
Any room in your house can serve as a photo studio with very little investment. Moreover, using daylight properly can be an alternative to studio light.
Commercial clothing photography is best shot with window light because it is affordable and produces high-quality results. An attractive feature is a large window that can be used for natural light. Position your cloth near the window to get a good daytime photograph. This method is applicable to both flat-lay and hanger photography.
But if the day is very bright, pictures may have extra shadows that don’t need to be there. Simply hanging a sheer curtain or fabric to block out some of the light will solve the problem.
Without creating strong shadows on the clothing, the light should fill the entire frame. Use a soft light source that doesn’t create shadows but still brings out the finest in the clothing when capturing photographs like these.
Preparation 2: Prepare Your Clothes
Always check the inside and outside of your clothes before a photoshoot to make sure they are in good shape. Remove labels, tags, or other attachments that need to be removed. Keep the products as wrinkle-free as possible. In such cases, steaming or ironing the garments is necessary.
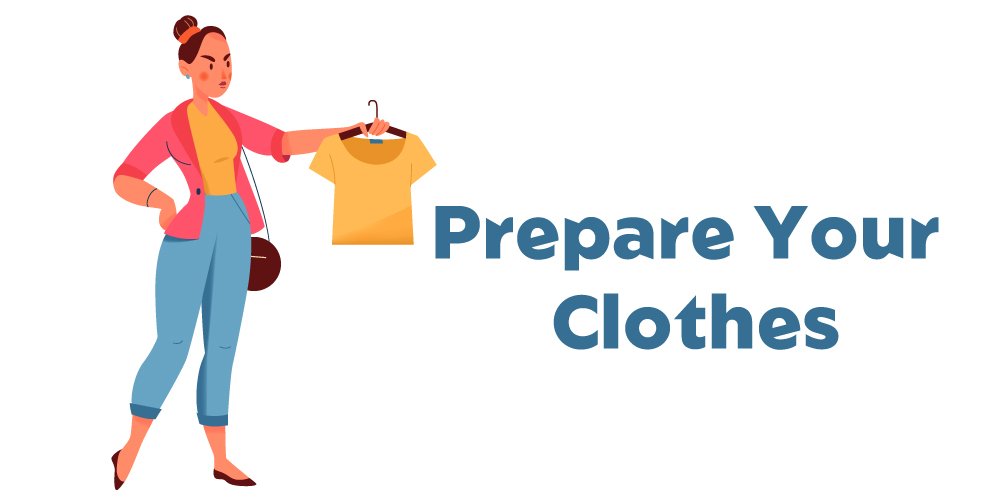
For example, if there is dust or hair on the cloth, it takes away from the look of the product, which makes a buyer less likely to buy the cloth. To solve the problem, use a lint roller on the product.
Many photographers try to “iron out” the wrinkles and other flaws in post-production, even though this is a fairly obvious step. However, the fact remains that there is no such thing as a perfect photo editor.
Preparation 3: Fixing the Style of Photography
Now, this is the creative part. This is the part where you can actually create the differences between a mannequin service and a unique photograph. Try on a variety of outfit combinations until you find one that works for your shoot. It can be a flat sheet, hanger, or model. Tape is helpful for attaching clothes to a precise form, but it is not always required. Alternatively, clothes can be hung up if that’s the best way to store them.
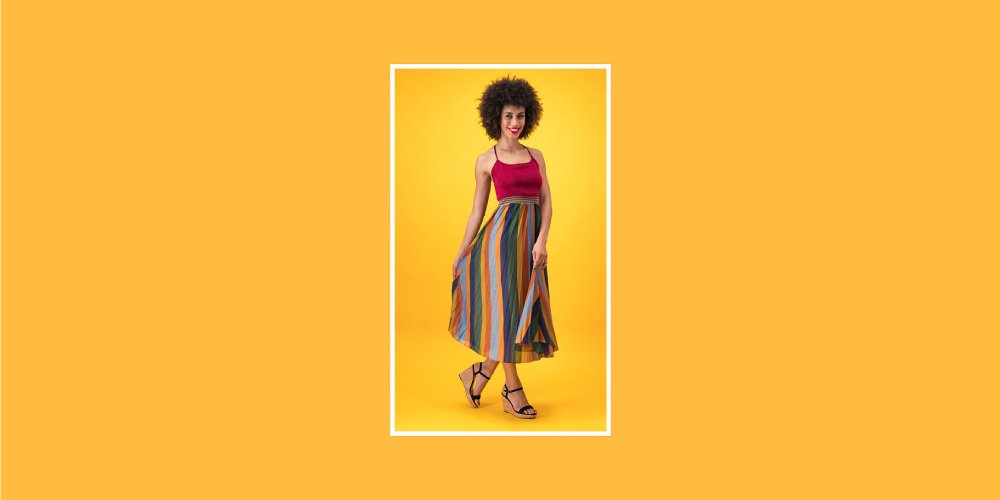
When it comes time to style, things get interesting since you can use whatever you think will make a good photo composition. Styling is vital because it’s a relatively easy way to make a big impression.
In order to make your products more eye-catching, especially in the highlighted shot, you should use props. The appropriate accessories may give a photo a whole new level of professionalism, bringing out the subject’s unique character and making it stand out from the crowd.
Add context to your photos by including suitable accessories. Making sure your frame looks excellent is your primary concern. Keep in mind that the goal of a picture taken with or without props differs. So, the style can be different, but you should organize and design your clothing accordingly.
Preparation 4: Try post-production services to add extra sparkle.
Finally, the photographs need to be post-processed or modified. Once you have the photos you want, you can send them to a post-production house or import them into the editing program you like best.
Some editing techniques include cropping, adjusting the lighting or exposure, adding the right white balance and color correction, and so on. Post-production is where the magic happens, where you modify the images until you get exactly the look you want.
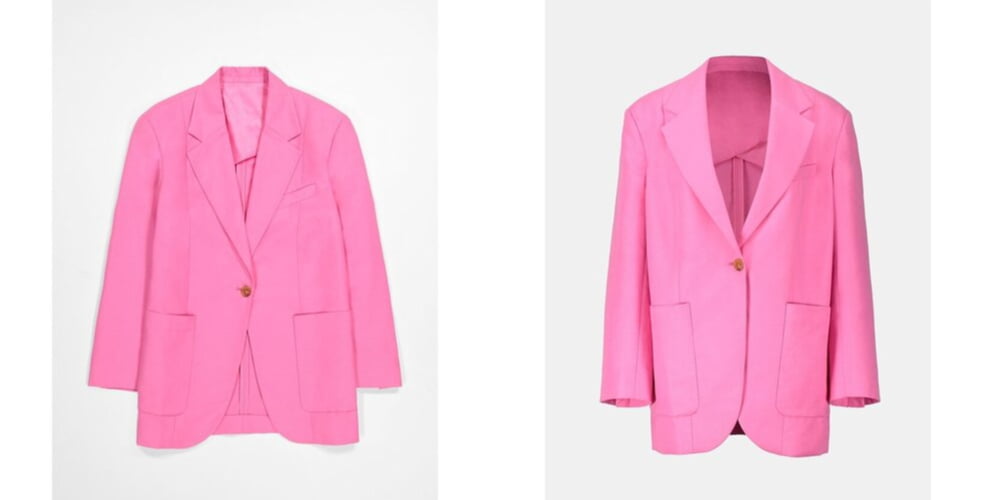
But it is important to remember that too much editing can destroy the real look of cloth. And as a result, potential buyers could be misled. So, editing the photos should be done carefully so that the products don’t end up looking completely different from what they originally did.
Concluding Ideas
When photographing clothing, have you ever tried doing it without a mannequin? You may have been discouraged from attempting it because you were told it was too difficult.
However, with some imagination and methods like flat lay photography, hanger photography, and model photography with clothes, it is actually quite simple. You don’t need to run out and buy expensive equipment either; your phone will do just fine if that’s what you have on hand.
So make yourself prepared before taking pictures of clothes without a mannequin.
FAQ
How do you take photos of clothes at home?
Pictures taken with a smartphone can be both attractive and functional in well-lit outdoor settings. Place the clothing close to a window for natural lighting. Take multiple shots after adjusting the lighting and focusing on the cloth.
