Tips on Including People in Pictures Without the Use of Photoshop

Sometimes we take pictures without our favorite one, and whenever we see that photo, we miss them. At such moments, we feel the necessity of adding them to that picture. The bright side is that it is possible to accomplish that! Feeling surprised? The whole thing is quite surprising and equally satisfying.
With the help of Luminar Neo, you can add a picture to a particular photo. To do the process, you do not even need Photoshop. If you already know the process, that’s great, and still, in this article, we are going to show you how to add a person to a photo without Photoshop.

Luminar Neo An Ultimate Alternative Of Photoshop [While Adding A Person In A Photograph]
Contents
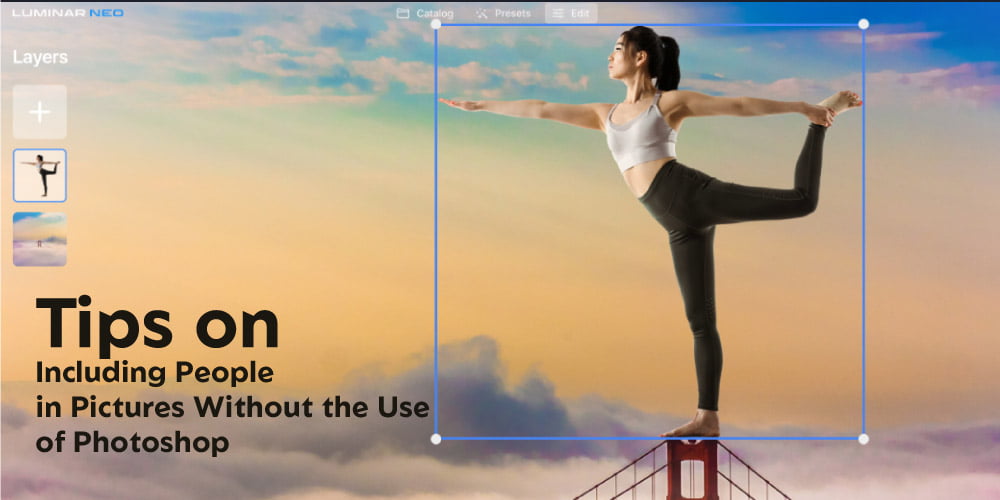
When adding a person to a photograph that already has a background, it is necessary to use a professional photo editor to integrate the layers in a consistent way. Luminar Neo is a photo editor that, similar to Photoshop, can give an image a perfect finish without the need for layers. This editor is available for use on both Mac and Windows operating systems. The Luminar NEO Editor can erase the background of a picture with a single click using Luminar NEO. Then, he can add the subject as a layer to a target image and blend it with the original photo in a way that looks quite realistic.

The Other Benefits of Lumimar Neo
Luminar provides instant results when editing any photograph. It can remove unwanted elements from a photograph, such as watermarks, date stamps, powerlines, dust, and people. Structure creation, color changing, creating of black and white photographs, noise removing, enhancing details, all of these things can be done with the help of Luminar.
Moreover, Luminar is a powerful editing program that can change the sky and modify a photo’s appearance with dramatic, matte, magical, or luminous filters. Finally, it supports saving photographs in a standard format, including raw images.
Step Of Adding A Person In A Photograph With The Help Of Luminer Neo
Here we will examine the process of including a new member.
Step 1: Get Luminar Neo from its official website, as it is now available for free download and installation.
Step 2: To add a person to an existing photograph, use the Add Photos option in the catalog and navigate to the photo.
Step 3: To remove the background from the portrait, right-click on the image and select Edit > Layer Properties > Masking > Portrait Background.
Step 4: Then, select Remove to get rid of the current background image.
Step 5: Select the option to export an individual by right-clicking on that person.
Step 6: Use the PNG transparency settings to create a see-through image. Record the individual on your computer.
Step 7: If you want to add someone to an existing photo in the catalog, just double-click on the image.
Step 8: Add a New Layer. Go to Edit and pick it from the left-hand menu labeled “+.”
Step 9: Load image is where you’ll go to bring in the person’s translucent photo.
Step 10: After that, add a new layer, go to Edit, and pick it from the left-hand menu labeled “+.”
Step 11: To load the person’s transparent image, select the “Load image” button. Then, save the file by selecting File>Export.
Additional Way Of Adding Person: Movavi Picverse
The simplest image editor is called Movavi Picverse for MAC and Windows. It is another way to add a human to a photograph with no background. And here are the steps for adding people to this application.

1. Download Movavi Picverse, install it on your computer, and launch it.
2. Simply move the photo containing the person you wish to add onto the one you already have.
3. Use the Polygonal Lasso Tool to select the person along the boundaries, then insert the image by going to Edit > Insert Image.
4. To begin with, copy the individual by pressing Ctrl+C or selecting Copy from the Insert menu.
5. Then, select the photo you’d like to add a person to by going to File > Opening.
6. To insert the person into the backdrop image, press CTRL + V.
7. Paste the person into the backdrop image using CTRL+V.
8. To add the individual to your photo, simply select File > Save.
Wrapping Up
Although it may seem complicated, adding a person to an existing photograph is a simple process that does not require the use of Photoshop. We have mentioned two ways of adding a person to a photo, one is Luminar Neo, and the other is Movavi Picverse. But there are several ways available. You can explore more.


