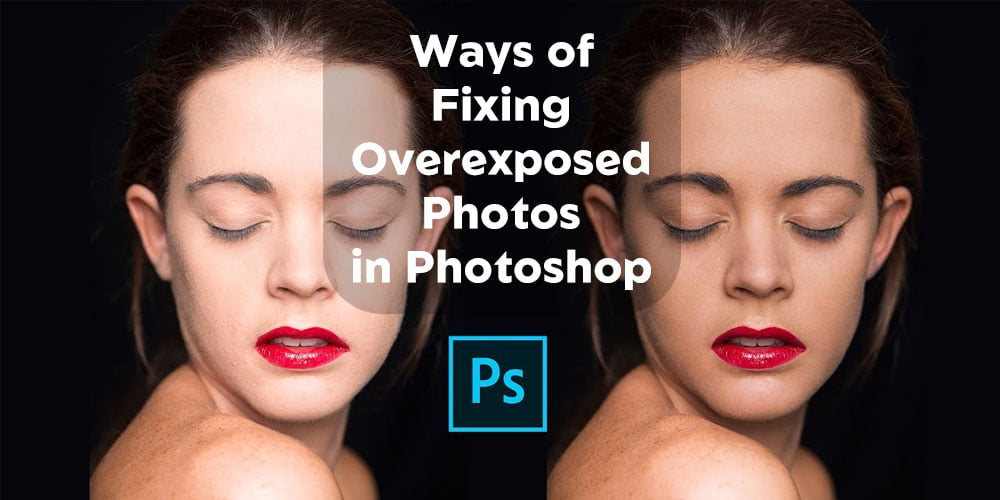
Ways of Fixing Overexposed Photos in Photoshop

As a photographer, you know the value of well-balanced lighting. While optimum lighting is essential for creating stunning shots, this is not always possible. As a result, there’s a chance some shots will be too bright or too dark. With the help of Photoshop, users can reduce their suffering because Photoshop provides a variety of methods for fixing overexposed photos.
A picture may become overexposed because of harsh sunlight, camera aperture, and ISO issues. It is undeniable that a damaged photograph is one of life’s greatest causes of frustration for a photographer, and we understand that. So, in this article, we will explain the cause of overexposure and how to fix overexposed photos in Photoshop.
The Cause Behind The Overexposure Of A Photo
Contents
There might be a variety of reasons behind the picture’s exploding. This thing has no reliable measurements because a photogram contains lots of details. But the good thing is that the human eye can differentiate between light and shade, but cameras cannot. In such a situation, editing is the only solution.
Knowing about the light meter mechanism of a professional camera might help you avoid overexposing. There are three metering modes available on the light meter, and they are matrix, center-weighted, and spot. The Matrix mode allows you to fine-tune the exposure so that it is optimal for the whole scene. But what about the center-weighted light meter? This exposure meter is sensitive to light in the middle of the image and becomes gradually less sensitive as it moves to the edges of the image. Spot meters, on the other hand, are designed to measure only a single point in space, as their title suggests. Now that you know the causes of overexposure, let’s see how we can fix it.
3 Ways of Fixing Overexposed Photos
Now let’s have a look at the ways of fixing overexposed photos.
1. Using Shadow/Highlight Adjustment

One common approach to fixing exposure is by working with shadows and highlights. This method works best for photos that have a large overexposed area since it affects the whole picture.
Step 1: First, load the picture that needs fixing into Adobe Photoshop CC.
Step 2: From the main menu, choose Filters, and then click Convert for Smart Filters. Now convert your picture into an editable smart filter. If a picture does not need a smart filter, you may skip this step.
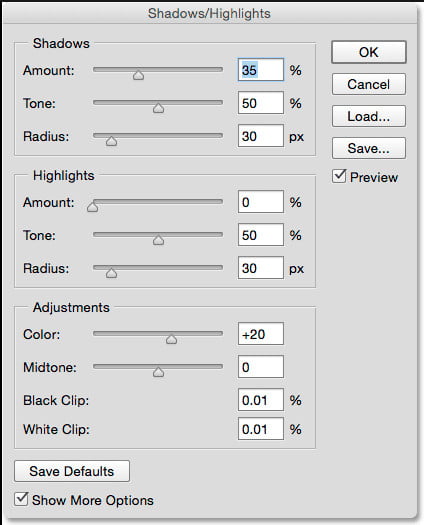
Step 3: From the Image menu, choose Adjustments. Click the arrow next to see the shadows and highlights section.
Step 4: In the fourth step, a box will pop up with controls for the brightness of the shadows and the brightness of the lights. Overexposed areas may have their lost details brought back by dramatically increasing the highlights. Additionally, you may adjust the slider to get the optimal visual setting.
Step 5: If you think the level of darkness is too high, lower the shadows slider. Raise it little by little until you have the look you want.
2. Using Radial Filter

This is the best approach to use when you’re concerned that a simple change could ruin your whole picture. With the help of this technique, overexposed areas will be selected in an oval shape, which allows easy editing.
Step 1: Launch Adobe Photoshop CC and import the image into the program.
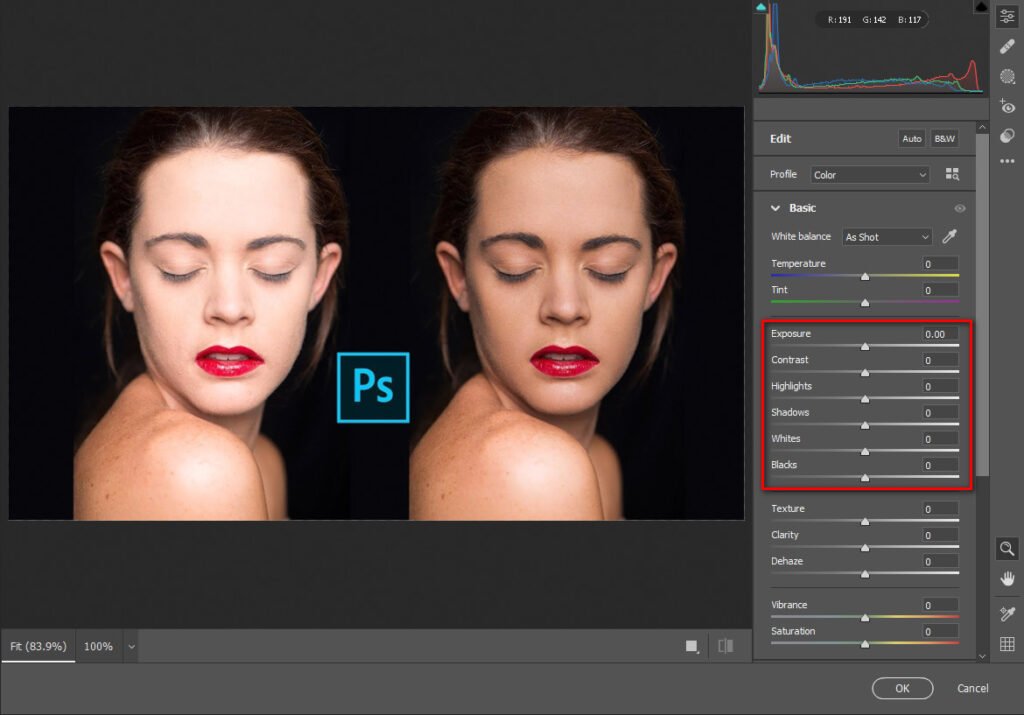
Step 2: From the Filter menu, choose the “Camera Raw Filter” option.
Step 3: Locate and click on the icon labeled “Radial Filter,” which is situated just above the picture.
Step 4: In this step, press and drag the mouse around the area that has to be defined. To do this, move your mouse around the area.
Step 5: Once you have created the radial filter, go to the left panel of the editor and select the button labeled “within Effect.” This guarantees that any alterations you make will have an effect on the inner side of the filter. Adjust the Exposure slider to a lower value, and increase the intensity of the highlights.
Step 6: With these two controls, you can bring back nearly all of the image’s white details. You may also experiment with the white balance, black level, and shadow settings to find the perfect look.
3. Using Adjustment Layer

Adjusting the brightness, contrast, and curves of a picture using an adjustment layer is an ideal solution. This allows you to hide the layers while editing, giving you greater flexibility over the effects.
Step 1: First, open Adobe Photoshop CC and load up the image that needs editing.
Step 2: Make a copy of the background layer by clicking on the background layer’s name in the layer panel. To paste, use Ctrl+J on a PC or Cmd+J on a Mac. You may work on creating a copy layer.
Step 3: Create an exposure-control layer. When you click the New Adjustment Layer button (located under the layers panel), choose Exposure from the drop-down menu. Slightly lowering the exposure in the timeframe designated for that purpose should have the desired effects.
Step 4: If the exposure becomes larger than the shadow, you can try a brightness or contrast adjustment layer.
Step 5: If you’ve lowered the exposure and need to go back to a darker phase, try adjusting the brightness. You may improve things even more by adjusting the contrast.
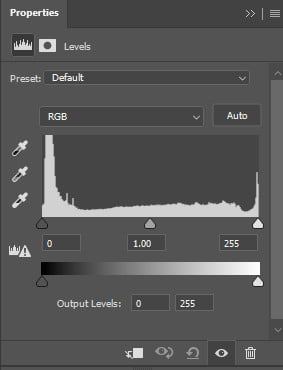
Step 6: Choose Curves from the New Adjustment Layer menu if you need to add a Curves adjustment layer for the image.
Step 7: From the previous stage, we will flatten the curves slightly.
Step 8: Make a folder containing all of your adjustment layers. Holding down the Control (Mac) or Command (Windows) key will select all of the adjustment layers. You can merge these layers by pressing Ctrl/Cmd + G.
Step 9: Flip the eye symbol next to the layer group to see a preview of the output. After the initial click, you can click it again to see the completed product.
Taking A Well-Exposed Image Is An Additional Solution
Overexposed photos are easier to correct in camera than in post-production. If you manage to get a picture with the right amount of light, you won’t have to worry about this happening again. If you don’t want to use Photoshop, then try to take an image by using manual settings.
While you’re photographing, keep the light meter adjusted appropriately for the situation. As you already know, there are different light meter modes and they have different usages in certain situations. Adjust the ISO, aperture, and shutter speed to match the lighting conditions accordingly.
I have a tip if you insist on doing the editing process on your own. Shoot with a small underexposure so you can adjust it in Photoshop to get the desired effect. The reason is, that when adjusting for overexposure in Photoshop, more of the original image is lost in the process than when adjusting for underexposure.
Bottom Line
Overexposed images are a common challenge for both amateur and expert photographers. These images are the worst, especially after you’re done shooting for the day and transferring them to your computer.


