3 Methods to Make a Silhouette in Photoshop 2023

Some photographers have the skill to take silhouette photos. Silhouettes in photographs are a good method for portraying wonder, suspense, feeling, and mood.
If you want to take a picture of a silhouette, you need to position your subject in front of a light. Expose your camera for the brightest part of the picture, not the subject. By doing so, the theme will be dark.
But if you don’t know how to take photos of silhouettes, Photoshop is here to help. Moreover, by simulating your own photo, you can polish your creativity.
In this article, I’ll share three different approaches for creating a silhouette from a photograph using Adobe Photoshop. Let’s figure out how to make a silhouette in Photoshop.
What is a silhouette?
Contents

A silhouette is the visible form and outline of a dark object or person against a brighter background. Silhouettes are a simple way to show what we’re trying to capture in a picture because they focus on shapes rather than details. Because of this, silhouette photography is useful for low-light photography. To learn more about dark issues, you can read this.
Even without fancy details, we can still capture what’s most important to make a scene interesting. Anything from tiny items and people to trees, bridges, and skyscrapers can serve as our topics. Any background color will do as long as it’s bright enough to see the object.
The 3 Easiest Methods for Creating Silhouettes in Photoshop
The first thing to keep in mind is that everything you need is already included in the original image. That means everything in the frame must be legible and not cut off by accident.
There should be no blurring around the image’s focal point. Place the things on a background that is completely blank or very dissimilar from the objects themselves to make the process easier.
Now we will see three methods of creating silhouettes in Photoshop:
Method 1: Use a Convenient Selection Tool
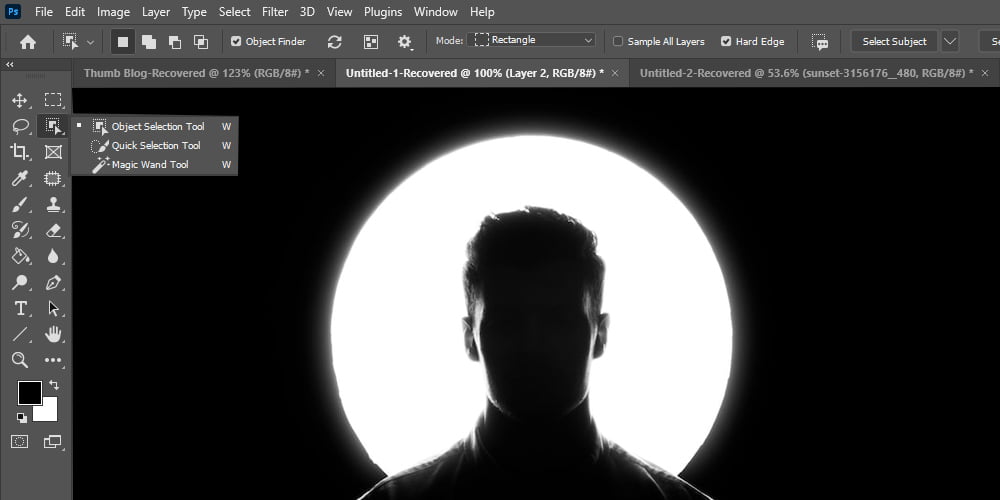
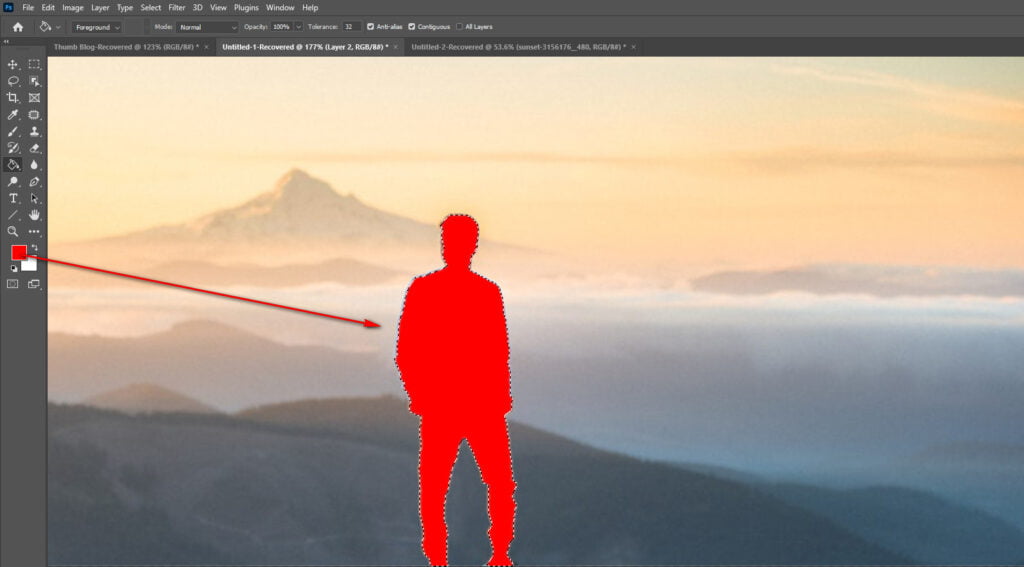
Step 1: Creating a silhouette by erasing the image’s background in this way couldn’t be easier. The first thing you need to do when creating a silhouette is find an image that already has the desired outline.
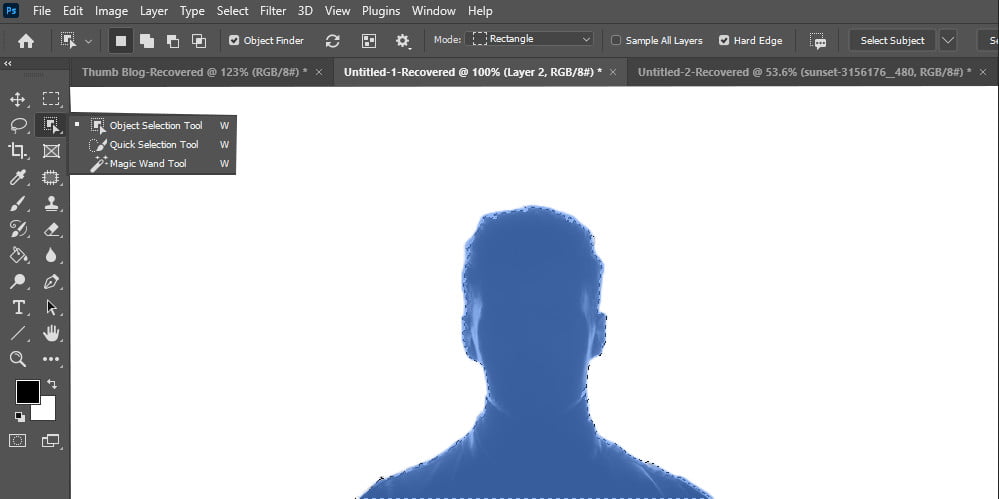
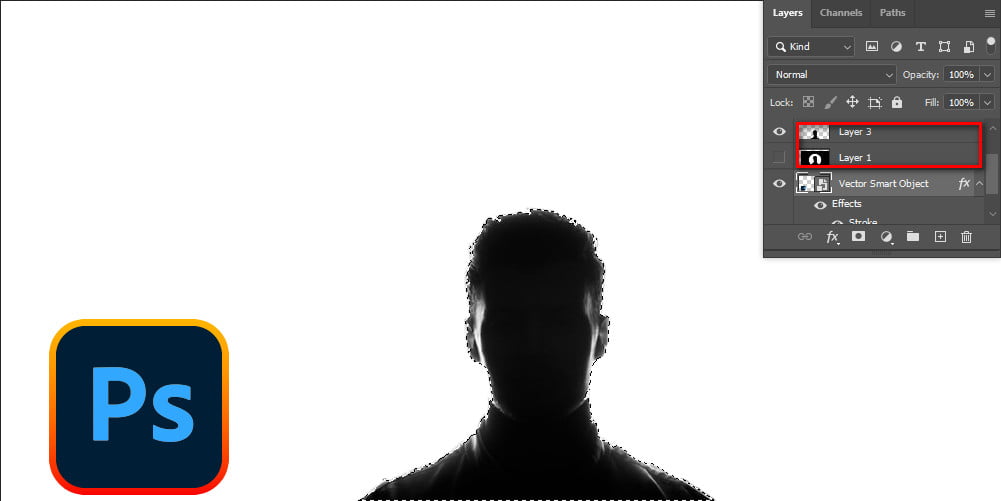
Step 2: Duplicate the image’s background layer. To make a copy of the selected background layer, use Command + J (or Ctrl + J on Windows).
Step 3: Pick the Quick Selection Tool from the menu. It’s possible that the magic wand obscures the speedy selection tool.
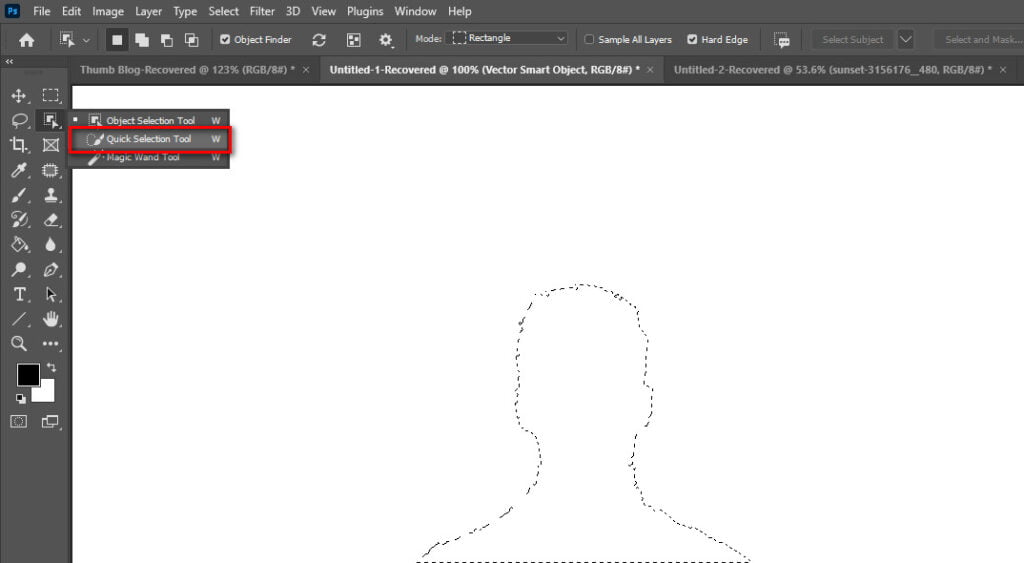
Step 4: Click and drag to select an area from which to remove a background. If the object is more complex, it will probably take longer to choose the regions.
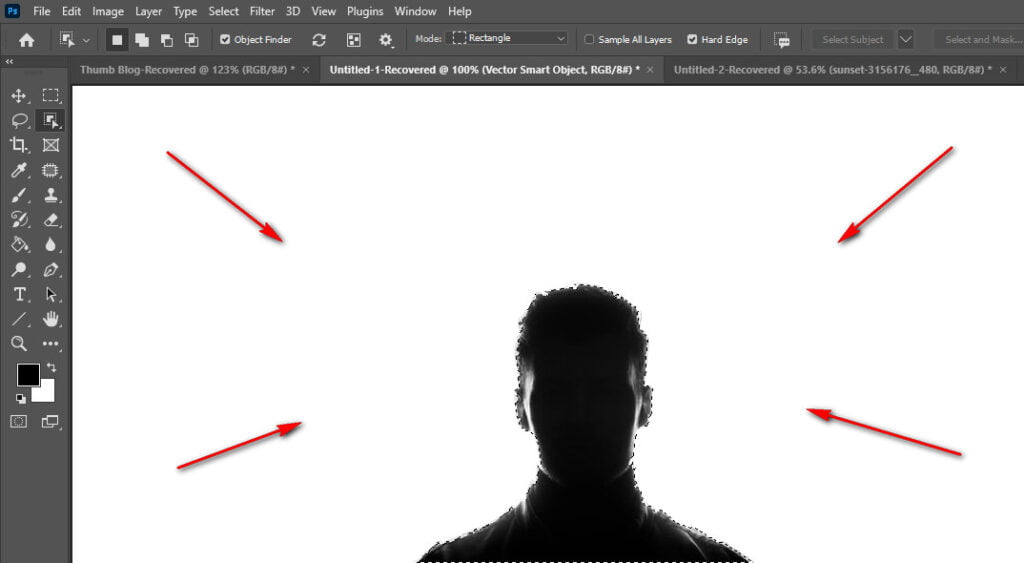
To add more of the background to your selection, click the plus sign in the toolbar at the top of the screen and drag the mouse cursor across the desired areas.
Choose the plus sign from the toolbar at the top of the screen, and then click and drag across several parts of the background to add them to the selection.
Selecting a portion of the canvas and then drawing outside of it to deselect it works the same way. It’s possible to reselect after making this change.
For example, the front tire is now selected because it stands out from the background, which is not selected. To deselect the tire area, click and drag the minus sign (-) outside of the selection
Step 5: To create a silhouette, select all of the backdrops and then press delete on your keyboard, leaving only the bike or other object in the front.
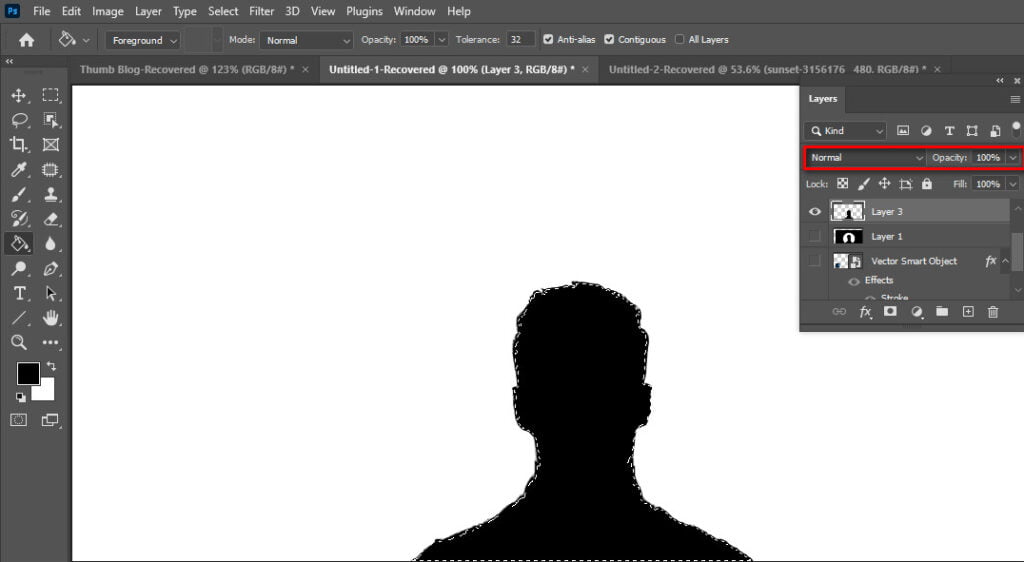
Step 6: To access the layer’s styles, step 6 requires a double-click in the layers panel
Step 7: Select “Normal” and “100% Black” from the color overlay’s drop-down menu to make a solid black silhouette
Method 2: Use a pen
In order to create silhouettes of basic shapes, this technique is frequently employed.
- To start, open Photoshop and drop an image into it.
- Next, select the pen tool.
- Third, use the pen tool to trace the object or area you want to remove, creating a silhouette.
- The fourth step is to right-click the path to bring up a menu, and then pick Make Selection. In the resulting settings window, you can choose to soften the edges a bit, or you can leave them as is and click OK. There is now a clear path forward after making this decision.
- The fifth tip is to press Command + J (or Ctrl + J on Windows) to create a copy of the current layer’s selection (the pen tool path) on a new layer. It’s easy to see how things will turn out if you conceal the layer that contains the background image.
- Sixth, double-click the silhouette in the Layers panel, and then pick Color Overlay to give it a black or other color.
Method 3: Use the Paintbrush Method
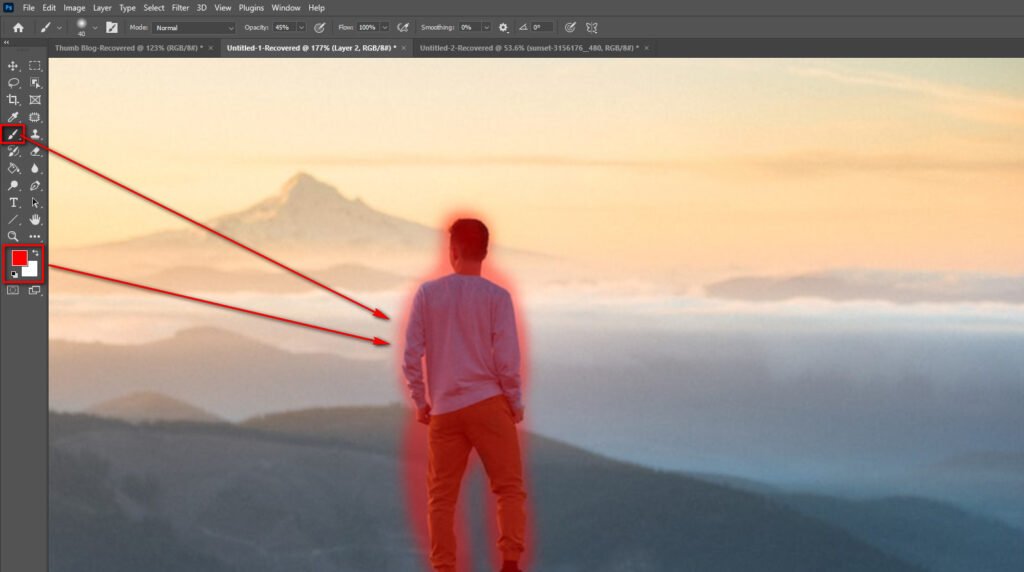
While it is possible to create a silhouette using this method by erasing the image’s background, it is not as simple as the previous two.
#1. First, launch Photoshop and load an image. Let’s continue using the adorable puppy analogy.
#2. Next, duplicate the layer by pressing Command + J (or Ctrl + J for Windows).
#3. Then pick your picture from the Layers menu. Create a mask by clicking on the mask icon.
#4. Fourth, pick the brush tool. The brush you use can be selected from the menu at the top of the screen.
#5. Set black as the new foreground color.
#6. Now, where you want the background eliminated, draw it.
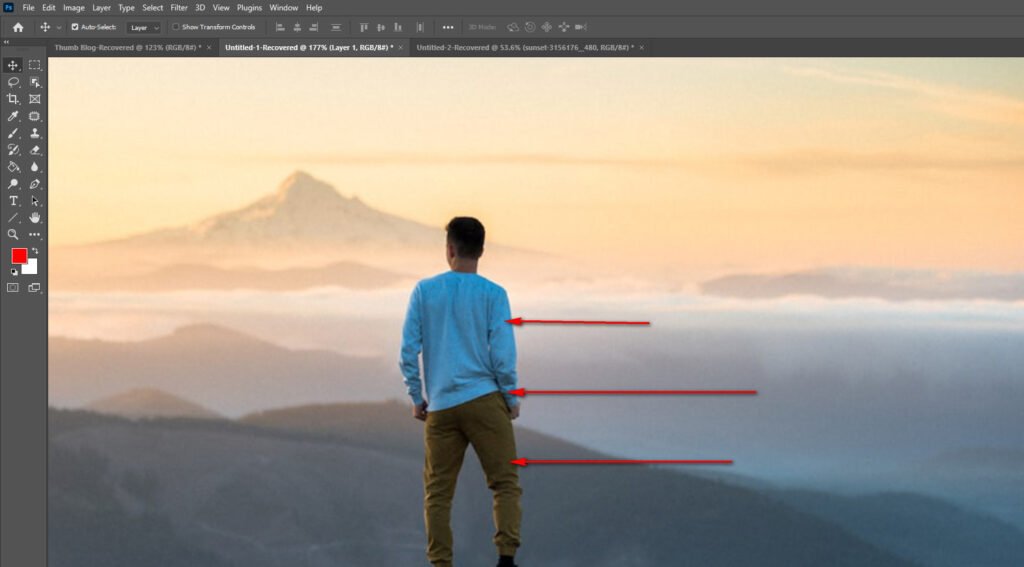
#7. After choosing the layer, you should apply a color overlay.
#8. Lastly, decide on a silhouette color (often black).
What Is the Best Way to Photograph a Natural Silhouette?
Make Sure The Subject Of The Photo Is In The Brightest Part
Most of the time, when taking a picture, it’s best to put the subject in the brightest part of the frame. As humans, we have an innate tendency to look toward the light. This rule of thumb says that silhouettes look best against a brighter backdrop.
To create the most striking contrast and get the most attention, why not cut your silhouette against the brightest area? However, the brightness level will change depending on the time of day, the location of the shot, and the atmosphere you hope to convey.
Pay Close Attention To The Details
If you don’t pay close attention to the finer points of positioning and posture, the subject of your shot might not have the silhouette you were looking for.
Clothing is an important aspect of taking a silhouette photo. If clothing is included in the portrait, it adds more distortion to the subject’s figure.
On the other hand, taking a profile shot from an angle will help you identify people in silhouettes. When taking a group photo, make sure there is enough room for viewers to make out each person’s shape.
Take Pictures Using Any Camera You Have Handy
It’s important to note that the choice between a smartphone, DSLR, or mirrorless camera is irrelevant when photographing silhouettes.
If your camera has a setting to manually control the exposure, you can use it to make a silhouette. Smartphone photographers should investigate the many dedicated apps available for capturing silhouettes.
The first step in figuring out the right exposure for a photo of a silhouette is to lower the ISO, ideally to 100. In that case, set the aperture to f/8 or f/11.
When you want to get a sharp focus on the shape of your subject, disregard the advice to use a shallow depth of field. The final step is to set the shutter speed.
If you’re dragging the shutter for effect or there’s a lot of light in the scene, the final step will change accordingly. Keep in mind that low-light conditions call for a shutter speed that is neither too fast nor too slow.
When you want to take silhouette photos with your smartphone, you should research the best apps for doing so and familiarize yourself with manual exposure controls.
Silhouette Editing in Post-Production
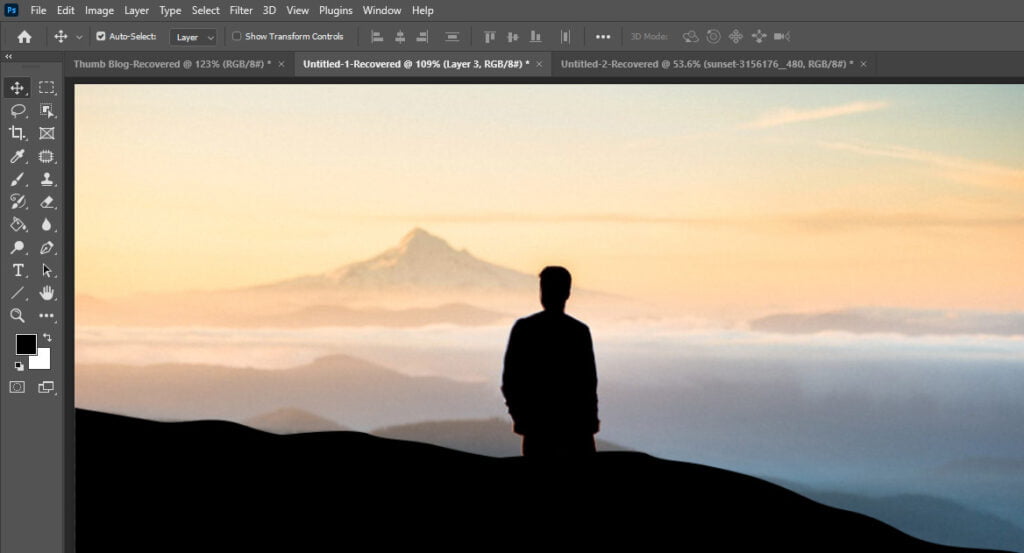
If you’re still having trouble taking a natural silhouette photo, post-production is an option. Post-production can adjust the black levels and the amount of shadow detail. So, to make a photo silhouette, take help from a professional post-production house.
FAQ
How do I make a silhouette in Photoshop?
By selecting the thumbnail of the backdrop image, you can make a silhouette. Layer > New Adjustments will be displayed.
Layer > Threshold from the menu that appears. You should next adjust the sensitivity slider. The final step is to select the clipping mask symbol and confirm with OK.
Then, create identical layers for the remaining objects.
How to turn a PNG into a silhouette?
To start, open “Silhouette Studio,” and then either drag the PNG file into the design process or pick this from your computer and click File > Merge.
End Thought
The Quick Selection Tool is the best option if you need to quickly make a silhouette, even of a complex object. If you try to choose every square inch of the background, you might need to use other programs to get rid of “extra” pixels.
When making less complicated things, designers tend to use the pen and brush tools more.


